
Your nails are more than just a canvas; they’re a reflection of your personality and mood. With the right DIY nail art techniques, you can transform your basic manicure into a work of art right from the comfort of your home.
Nail art is not just for professionals anymore! It’s all about experimenting and having fun with colors, patterns, and textures. From simple stripes to intricate floral designs, the world of DIY nail art is vast and welcoming. This guide will walk you through 10 stunning nail art ideas that are perfect for any skill level. So grab your supplies and let’s get those creative juices flowing!
Contents
- 1. Classic Polka Dots
- 2. Ombre Effect
- 3. Floral Designs
- 4. Geometric Patterns
- 5. Glitter and Sparkle
- 6. Striped Nails
- 7. Negative Space Art
- 8. Marble Effect
- 9. Seasonal Themes
- 10. Mix and Match
1. Classic Polka Dots
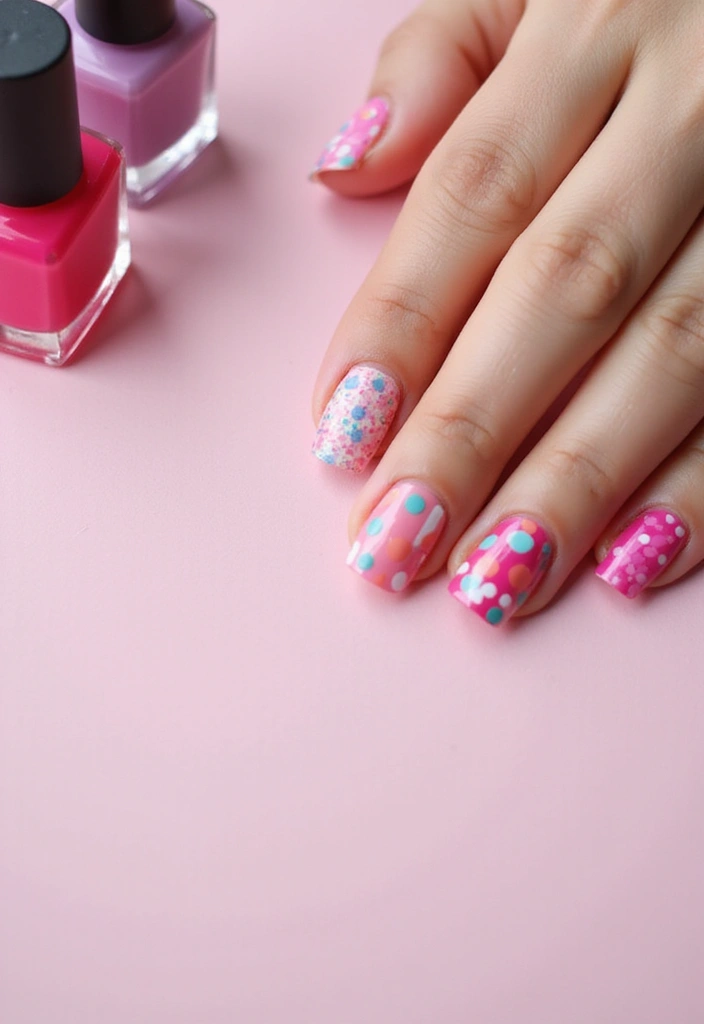
Polka dots are timeless. They add a playful charm to any manicure and are incredibly easy to create! Start with a base coat of your favorite color, like the base coat and top coat duo from Beetles to ensure a smooth application and long-lasting finish. Allow it to dry completely before moving on to the fun part.
Next, use a dotting tool or a toothpick to apply contrasting dots across your nails. The dotting tool set from Augshy makes this process even easier, allowing you to create precise dots of varying sizes for added interest.
For a unique twist, try alternating colors for each nail or creating a striped background for your polka dots. You can customize the color scheme with the nail polish set featuring 15 bright colors, perfect for matching your outfit or mood.
– Use a light base for brighter dots.
– Allow each layer to dry to avoid smudging.
– Experiment with matte and glossy finishes for added depth.
With these tools and tips, you can easily create stunning polka dot nail art at home!
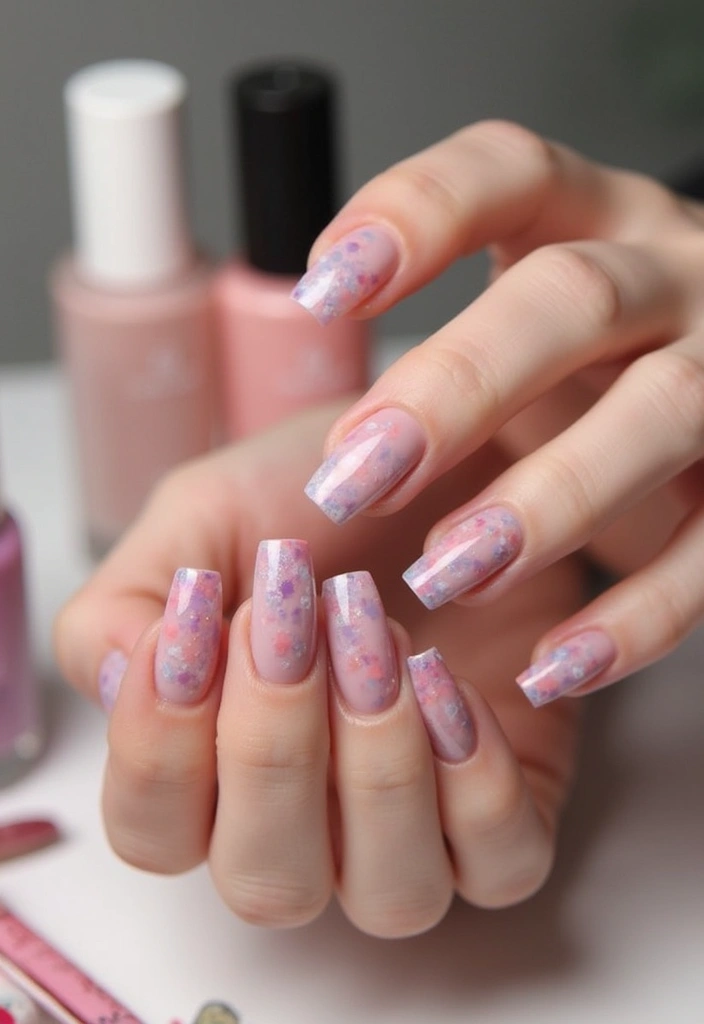
2. Ombre Effect
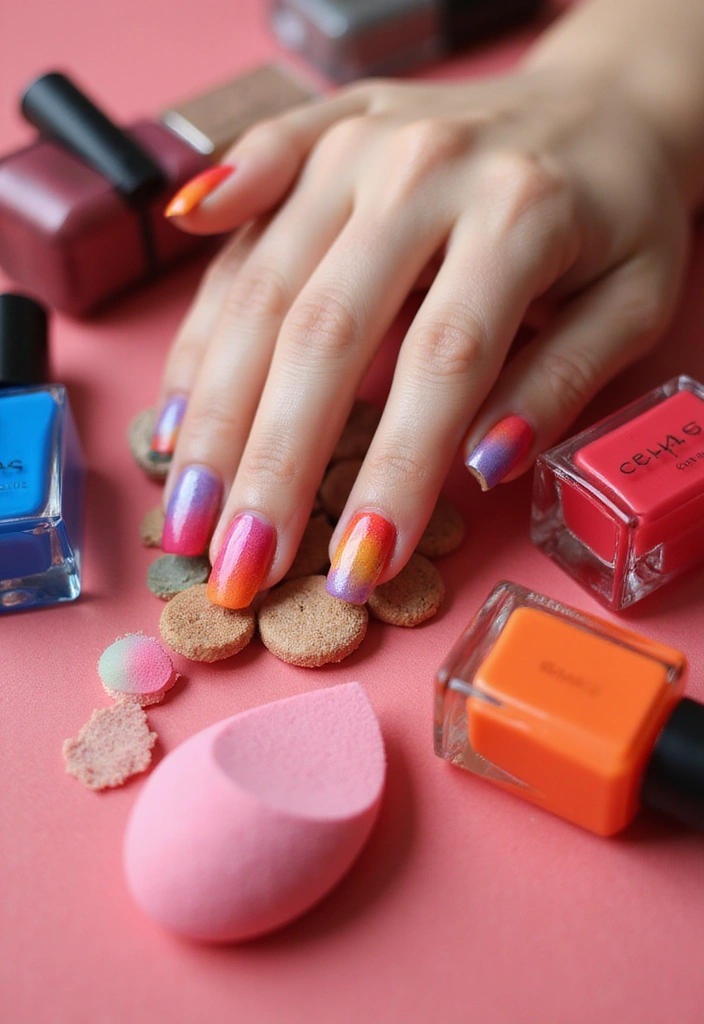
Ombre nail art is perfect for those who wish to blend colors seamlessly. This trendy style involves a gradual transition from one color to another, creating a soft gradient. Start by painting your base color, then choose two or three shades that complement each other. For an ideal application, consider using Nail Art Ombre Sponge Applicators. These sponges are designed to help you achieve that smooth blending effect effortlessly.
To create the ombre look, use a makeup sponge to dab the colors onto your nails, blending them together at the tips. After you’ve perfected your gradient, don’t forget to seal your masterpiece with a top coat like Top Coat Nail Polish for a glossy finish. This quick-drying formula ensures long-lasting wear and a streak-free shine.
You can also experiment with the ombre effect using glitter or metallic shades for a festive look. To get started, you might want to try the Nail Polish Set with Complementary Colors, which includes a variety of shades that are perfect for creating beautiful ombre effects.
– Use lighter shades on the base for a subtle effect.
– Don’t rush; take your time to blend for the best results.
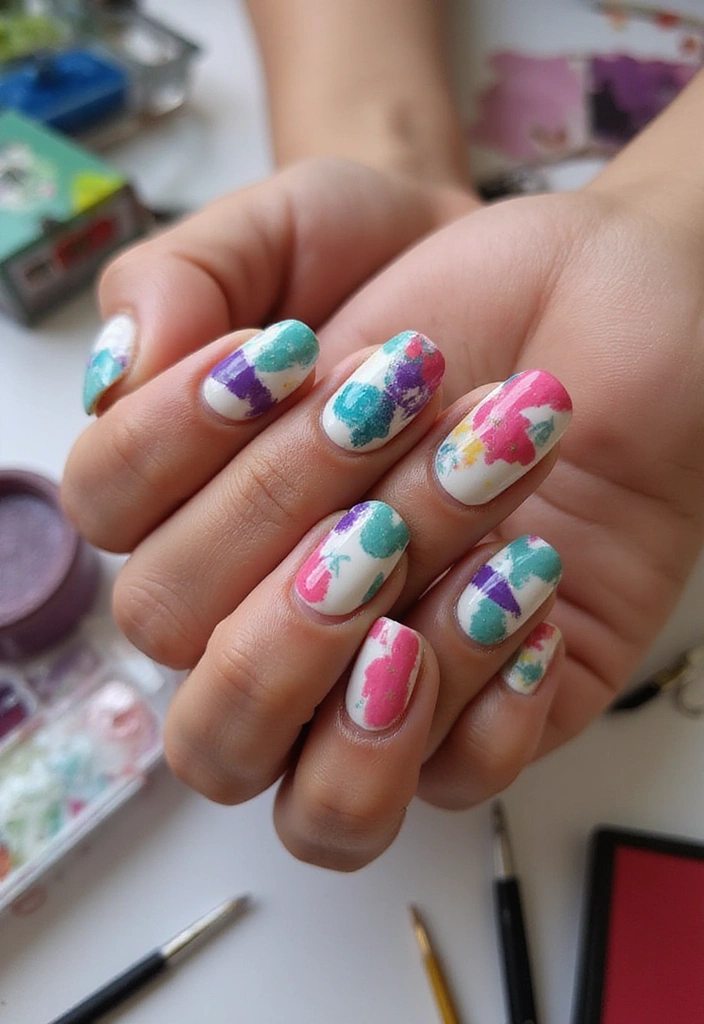
3. Floral Designs
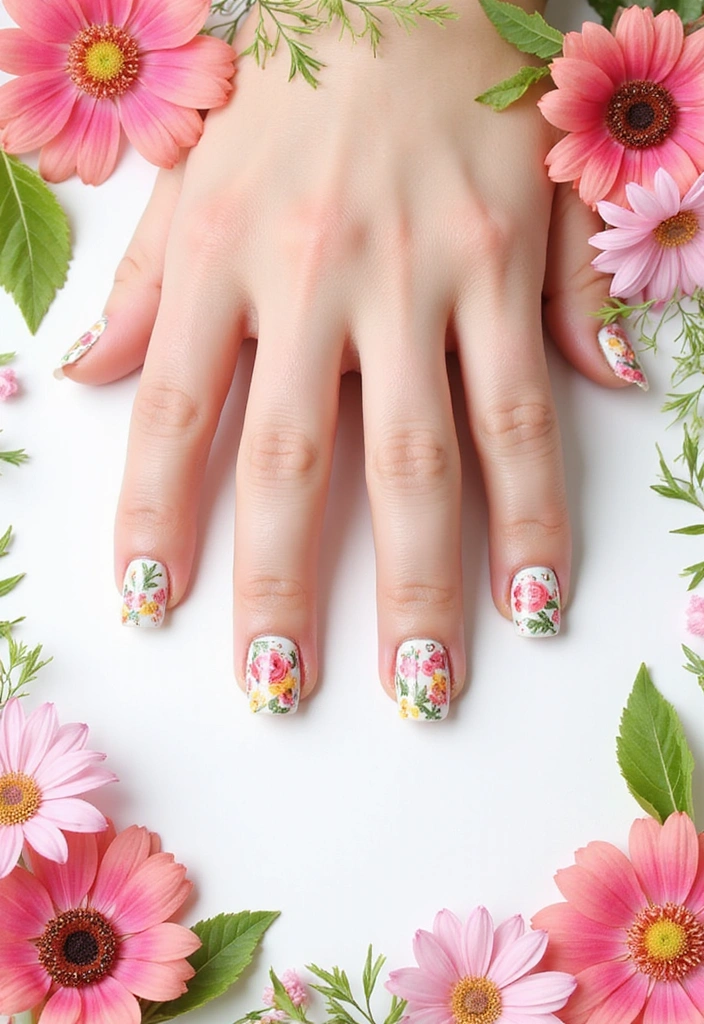
Floral designs are a classic choice that never goes out of style. They can be as simple or intricate as you want! Start with a solid base color. Once dry, use a fine brush or a nail art pen to create small flower shapes. White and pastel colors work wonderfully for flowers. For precision, you’ll love using the nail art brush set; it includes various fine brushes that are perfect for adding those delicate details to your flowers.
You can even experiment with different flower types – daisies, roses, or even abstract blooms! To enhance your design, add small leaves or dots with the nail art pen set. This set comes with dotting pens that allow for easy and precise designs, ensuring your floral creations stand out.
Finally, don’t forget to use a top coat to protect your delicate designs. A good choice is the top coat nail polish, which provides a quick-dry finish and a glossy look, ensuring your artwork lasts.
– Practice on paper before trying them on your nails to build your confidence!
4. Geometric Patterns
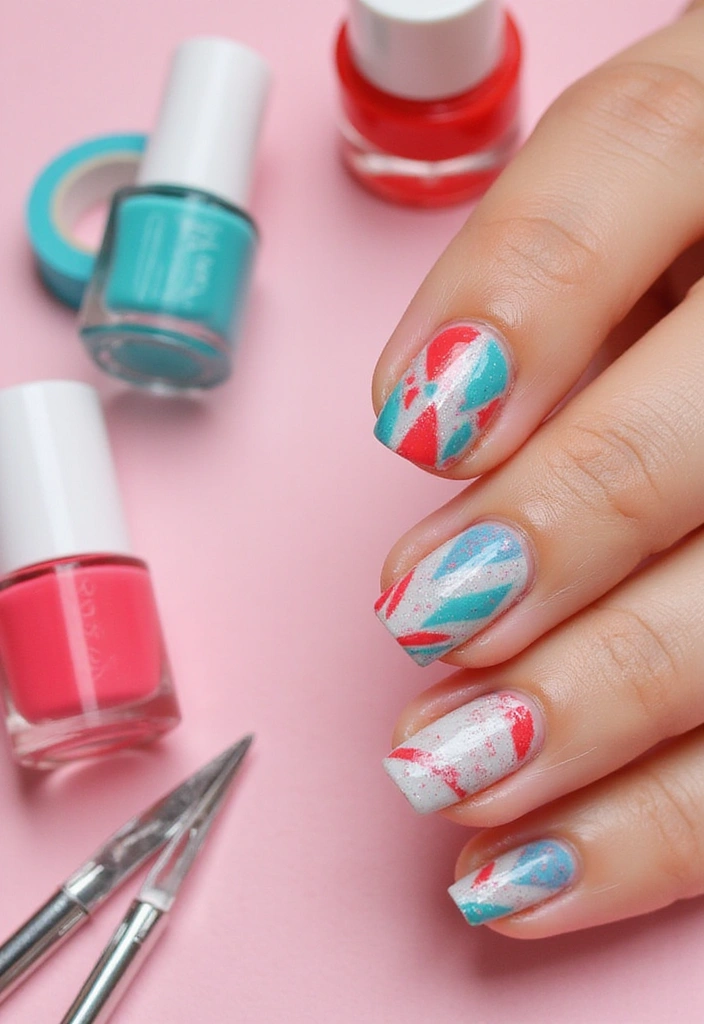
Geometric nail art is all about clean lines and bold colors. Begin with a neutral base coat, ensuring it’s completely dry before moving on. To create your shapes—like triangles, stripes, or chevrons—consider using nail art tape. This 6 rolls washi masking tape in various widths is perfect for achieving crisp lines and precise designs.
Once you’ve painted your geometric patterns with contrasting colors, carefully peel off the tape before the paint dries to maintain those sharp edges. To achieve a modern finish, try using the GAOY matte gel top coat for a powder-resist matte look. If you prefer a more dramatic effect, a glossy finish can elevate your design further.
For added finesse, consider adding intricate details with a nail art brush set that includes a variety of brushes for long lines and fine drawings. Geometric patterns are perfect for making a statement—try using monochromatic palettes for a chic vibe that stands out!
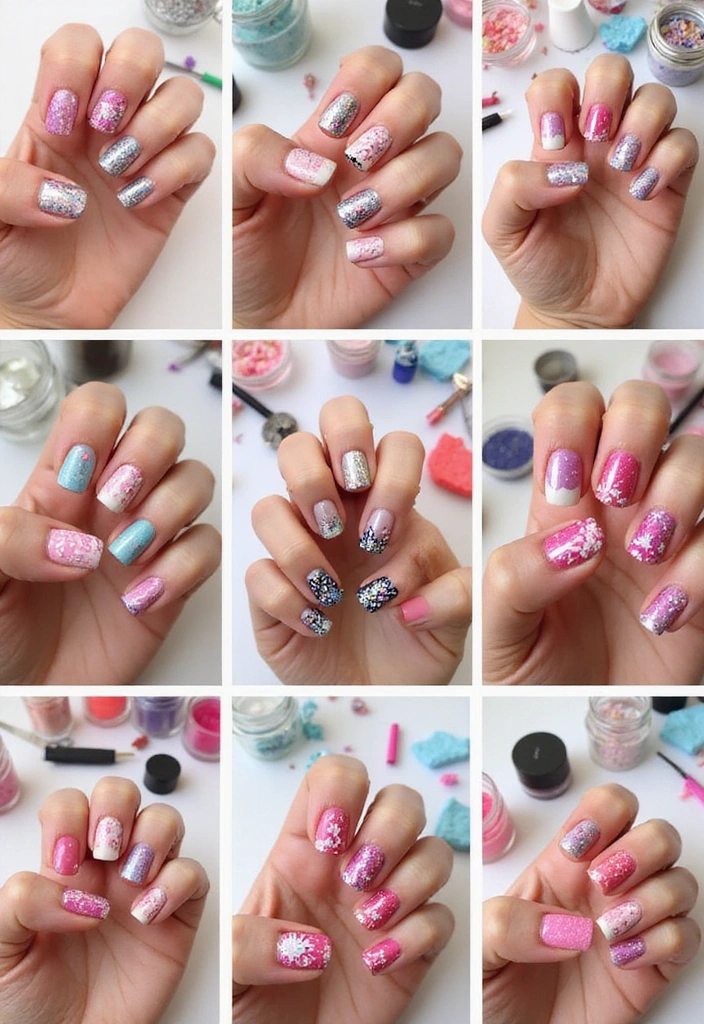
5. Glitter and Sparkle
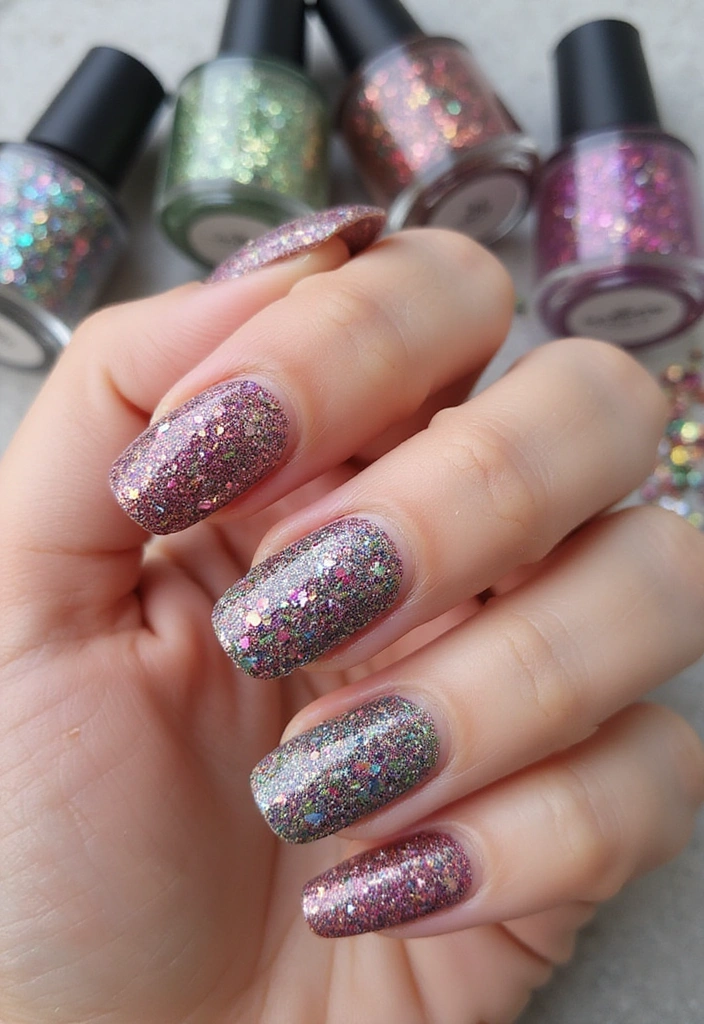
Who doesn’t love a bit of sparkle? Glitter nail art is incredibly easy and adds instant glam! Start with a base color of your choice. Once dry, apply a layer of glitter polish or sprinkle loose glitter on your nails while the polish is still wet. For this, consider using the Glitter Nail Polish Set, which features a variety of fine glitters that can elevate your nail art effortlessly. This look can be glam for parties or subtle for everyday wear.
For a sophisticated touch, try a glitter ombre effect by applying more glitter at the tips and fading it towards the base. Mixing different sizes of glitter can also create a unique texture; the Loose Glitter for Nail Art offers an array of colors and finishes that can help you achieve that perfect look.
After applying glitter, use a top coat to smooth out the glitter and keep it concentrated for a more refined look. With these products, you can easily transform your nails into stunning works of art!
6. Striped Nails

Stripes bring a chic and sophisticated vibe to your nails, and you can mix thin and thick stripes for a fun look! Start by painting a base coat of your choice and let it dry. For creating those perfect lines, consider using striping tape for nail art. This set includes various widths that allow you to experiment with both thin and thick stripes, giving you the versatility to create stunning designs.
Next, using the striping tape, paint stripes with contrasting colors. Alternating different colors on each nail can create a playful effect. For your polish, the matte and glossy nail polish set is perfect, as it includes both finishes. You can use matte polish for one color and glossy for another, adding delightful texture to your design.
Feeling adventurous? Try experimenting with diagonal stripes for a trendy twist! Finally, don’t forget to seal everything with a good top coat to keep your stripes sharp and ensure your masterpiece lasts longer. Enjoy your chic striped nails!
7. Negative Space Art
Negative space nail art is super trendy right now, and it involves leaving parts of your nail unpainted for an eye-catching look. To get started, apply a base coat of your choice and ensure it’s completely dry before moving on. This is where having the right tools, like the Nail Art Tape, becomes essential. This tape helps you easily block off sections of your nails, allowing for crisp, clean lines in your design.
Once the tape is in place, paint the exposed areas with a contrasting color. With negative space art, you can create geometric shapes or let your creativity run wild with freehand designs. Using different colors and patterns can result in a truly unique look!
Just remember to take your time with tape placement for the best results. This style is not only easy but also gives a modern twist to traditional nail art. Enjoy the process and have fun experimenting with different designs!
8. Marble Effect
Marble nails are classy and sophisticated. To achieve this look, start with a solid base coat using Sally Hansen Double Duty™, base and top coat for a smooth foundation. This quick-drying and long-lasting formula will help your base color stay vibrant. Choose a light color for your base, and then, using a small brush from the Nail Art Brush Set, add swirls of darker shades to mimic a marble effect. The variety of brushes in the set will help you perfect your swirl technique.
For those who want to try something different, you can create a water marble effect by swirling polish on water and dipping your nails in. This technique may seem complicated, but it becomes simple with practice. Consider using the colors from the Nail Polish Set (light and dark colors) for a stunning contrast that will enhance the marble look.
Finally, seal your nails with the same Sally Hansen Double Duty™ top coat for a flawless finish and added shine. Remember to practice the swirl technique on paper first to perfect it. With contrasting colors, your marble nails will surely stand out!
9. Seasonal Themes
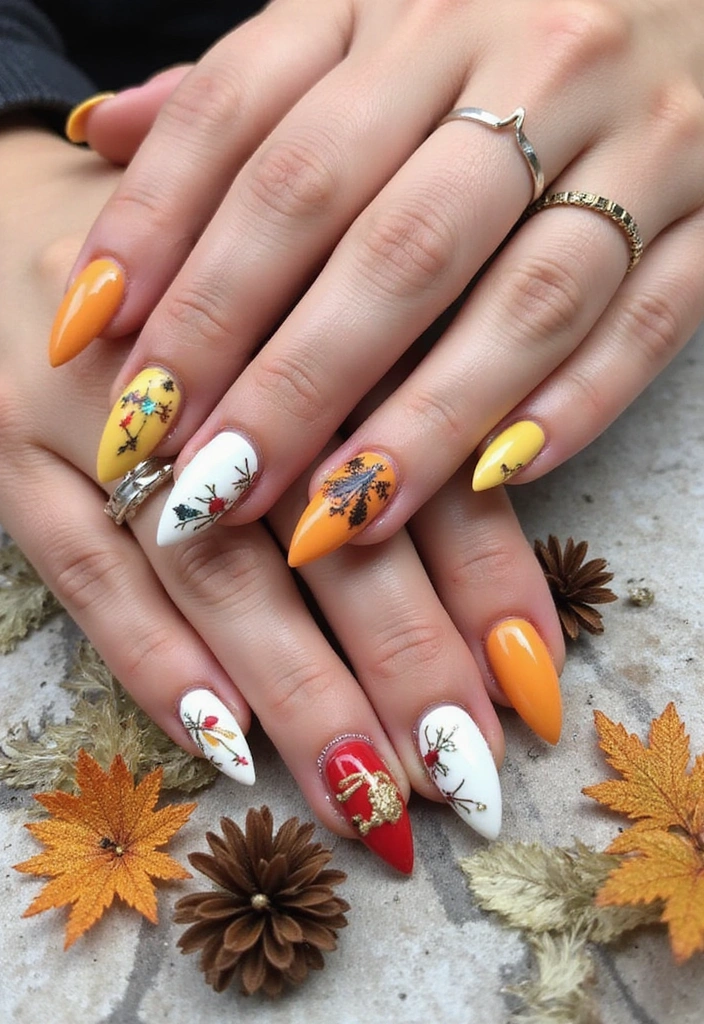
Why not switch up your nail art with the seasons? For spring, try pastel florals. In summer, vibrant colors and beach themes are perfect. Autumn can bring in warm tones and leaf patterns, while winter is great for icy blues and snowflakes.
Using seasonal themes not only keeps your nails fresh but also allows for creativity. To help you achieve intricate designs, consider using the Nail Art Brush Set. This set includes various brushes that make it easier to create fine lines and detailed patterns, enhancing your seasonal artwork.
You can also incorporate small embellishments like rhinestones or gems for added flair! The Nail Art Rhinestones and Gems Kit offers a collection of colorful options that can elevate your designs, whether you’re going for a beachy summer look or a festive winter vibe.
Consider themed nails to match holidays or events for a personal touch. Remember to keep it simple to avoid overwhelming designs, and always use a top coat for longevity. This will ensure your seasonal creations look great for longer!
10. Mix and Match
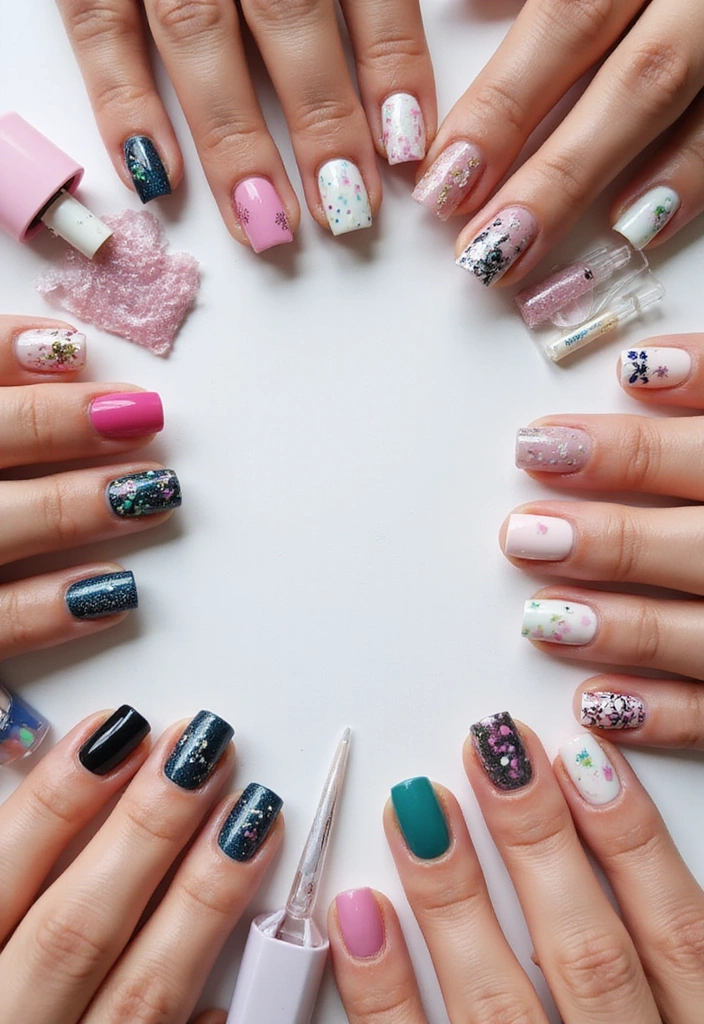
Don’t be afraid to mix and match your designs! Combining different nail art styles on each finger can create a fun and eclectic look. For example, one finger could have stripes, another with dots, and another with floral designs. This style is perfect for expressing your personality and creating a unique look.
To help you achieve this playful aesthetic, consider using a nail art brush set, which includes various tools such as dotting tools and striping liners. These tools will make it easier to create intricate designs, ensuring that each finger showcases a different style without compromising on quality.
Using a cohesive color palette is essential to tie everything together. Consider a nail polish set with complementary colors to ensure that your chosen hues harmonize beautifully. These colors can balance out your designs, allowing you to get creative while still maintaining a cohesive look.
Lastly, don’t forget about detail work, which is where nail art dotting tools come in handy. They are perfect for adding those small yet impactful touches that can elevate your nail art game.
It’s all about creativity and having fun with your nail art! Keep designs varied to avoid a cluttered look, and enjoy the process of showcasing your unique style.
Conclusion
Creating stunning DIY nail art at home doesn’t have to be intimidating. With a little creativity and some practice, anyone can turn their nails into a canvas for self-expression.
Whether you’re trying classic designs or experimenting with new techniques, there’s no limit to what you can achieve. So grab your tools, get inspired, and let your nails shine!
Note: We aim to provide accurate product links, but some may occasionally expire or become unavailable. If this happens, please search directly on Amazon for the product or a suitable alternative.
This post contains Amazon affiliate links, meaning I may earn a small commission if you purchase through my links, at no extra cost to you.